Here's my latest showreel!! Sorry it's been a while.
Wednesday, 17 October 2012
Thursday, 22 March 2012
Armour
Okay, so I managed to knock up some armour for my chieftain a lot quicker than I had expected which was good. Although building the helmet was a bit strenuous, mostly due to the multiple eye-holes in the design. I made sure that I went through and inserted supporting edges on the geometry so that it would not collapse when we come to smoothing it for our final renders.
I am reasonably pleased with how it came out in relation to the initial design. There were a few areas where it became apparent that I had not thought enough about how certain areas should go together but altogether I feel that it matches my initial concepts quite nicely. Now on to the high poly work.
Tuesday, 20 March 2012
It's Chieftain Time!!
So first things first, my first character to build was the chieftain. He's the big, bad, evil guy for our film. My main idea behind him was basically to have him massive, towering over our protagonist. then throw in some animal furs and nasty looking armour and that's that. Here's the model sheet that I created for him.
He got off to a decent start, and after going back and forth from 3ds Max to ZBrush this was the base mesh that I ended up with. (Sorry for the less than flattering renders)
He got off to a decent start, and after going back and forth from 3ds Max to ZBrush this was the base mesh that I ended up with. (Sorry for the less than flattering renders)
So that's what I managed to arrive at. I decided to create him with his trousers etc. on because you would never see his legs underneath so there was no need. I think I made him look big enough, obviously this will only become apparent when next to other characters. My main concern was the topology and whether or not it would work well for animation which obviously was something we need to be thinking of the whole time. It came pretty good in the end and I think it should work quite well for a base mesh.
Time Travel
Alrighty then! It's been quite a while since my last post, but I have been busy I guess. Anyway I've got a bunch of stuff to show and I will try and remember at least most of the things that I have wrestled with over the past few months. So I've created two characters for our film and I've also started a new UDK environment so I have a lot to post. Let's get on with it!!
Tuesday, 6 December 2011
Done and done!
Soo, finished the character project yesterday, got my work in on time (phew). I was pretty pleased with how it turned out in the end and as always I learnt a lot from this project, especially about character workflow. Anyway, here's my final video and I'll be back soon with more pre-production for my major projects. For some reason this video looks a bit crap so I recommend watching it on youtube instead. Although for some reason youtube didnt want to include the theme song that I had added, hmm....
Saturday, 3 December 2011
Painting!
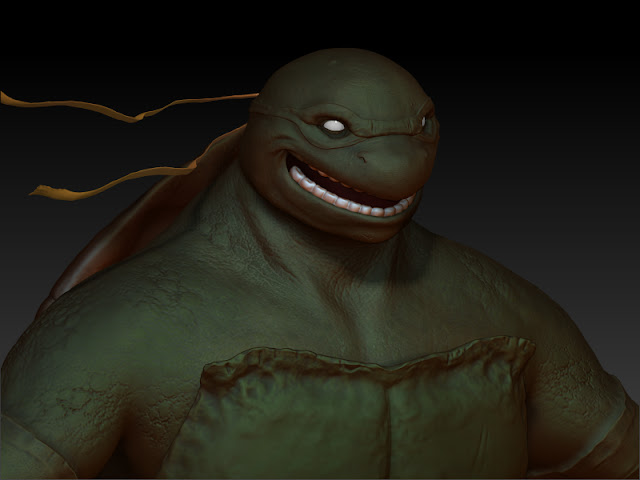
So, I've started the painting of my sculpt, and so far it's going quite well. I find polypainting in zbrush really fun although a bit confusing at times. I tried working it up in layers and blocking stuff in first which has worked out pretty well for me, I'll hopefully follow up with a detail pass and then a specular pass. It hasn't really come out as close to my initial reference images as I would like but this was pretty hard to achieve the same effect without first having a similar light source as there is in the reference. I want to try and get at least most of the painting done tonight so then tomorrow I can work on finishing off the project as a whole.
Character update
Okay, I would have liked to have posted some things a bit sooner but I've been having various setbacks so I've been busy trying to sort them out. So I'll post a bit of progress.
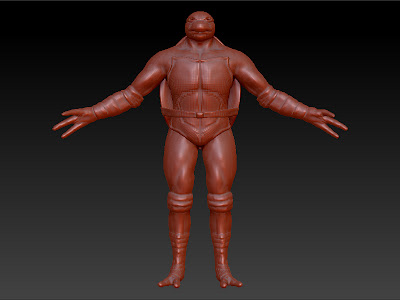
This screenshots are from an earlier version of the model which I have since updated. This was mostly a stage of blocking out all of the forms and making sure I was happy with the anatomy and where it was heading.

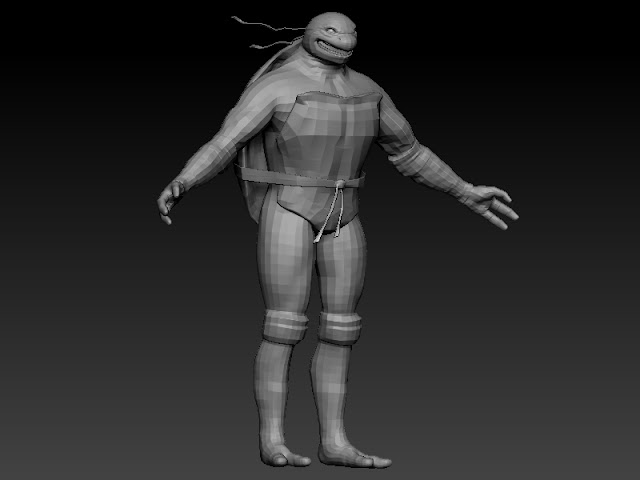
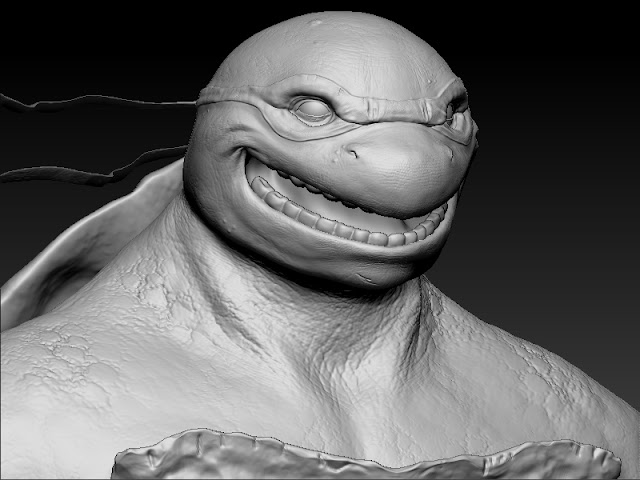
This is where my model is at now, I've included images of my low poly version that I'll be baking the information from my high poly sculpt on to. I obviously adjusted the forms a bit (especially in the face) to try and suit my reference images a bit closer. The low poly comes in at just over 9000 polys and the sculpt is something like 9.5 million haha. Overall I think it has come out pretty well for my first zbrush character. The next step will be to polypaint the model and pose it. Then I will work on baking it all to the low poly version. :)
Subscribe to:
Comments (Atom)


